A nice layout image of a bus is this image attached to the wall of bus. You may or may not see this in the buses you ride and certain details will differ, but for our purposes it provides a good overview of what to expect. As this page is on emergency scenarios, let’s focus on the hammers to break windows in case of an emergency, a pressure release value to manually open the right middle door, and multiple fire extinguishers. Again, the placement and quantity of these items will differ, quite possibly even on the same bus line.
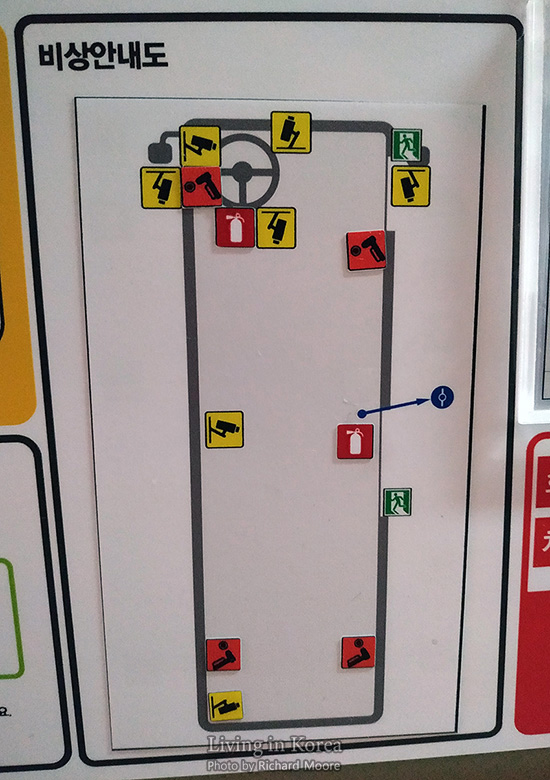
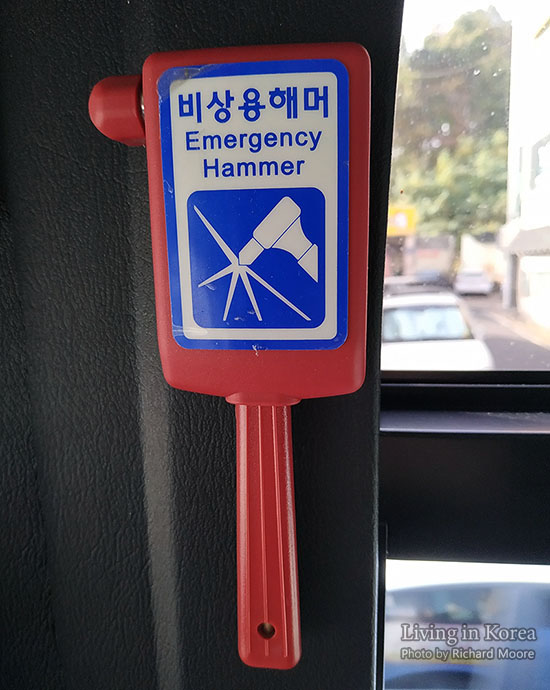
The image above shows there are four emergency hammers (비상용해머, 非常用 hammer, bisangyong haemeo - or – 비상탈출망치, 非常脫出망치, bisang talchul mangchi) and they are installed around eye level close to windows. This is a very common type to be installed in buses. The hammer is held in place by a wall mount and covered by a plastic flap. Lift the flip and remove the hammer. Unlike some bullet trains which have weak spots designed into windows, the windows of buses are more uniform which means there is no preferred location on the glass to be hit with a hammer. Pick your location and swing the hammer. Be prepared to kick to push out the broken safety glass.
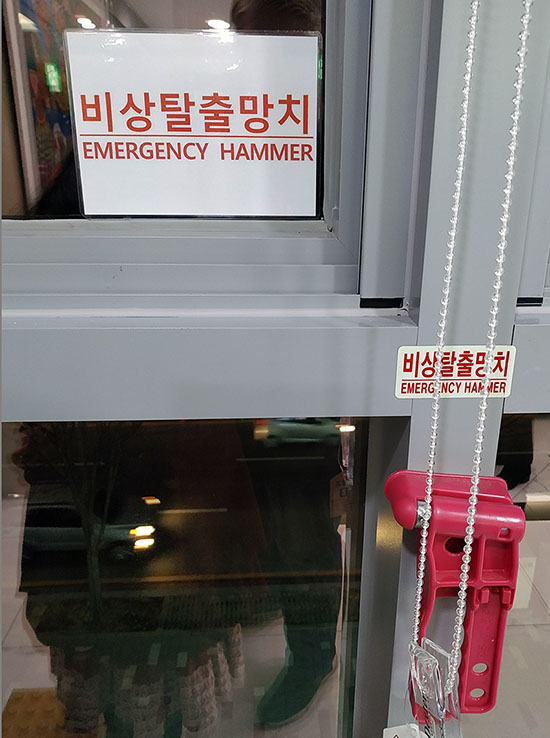
If you look around you’ll find these hammers in other locations as well. Here is one located in a hospital.
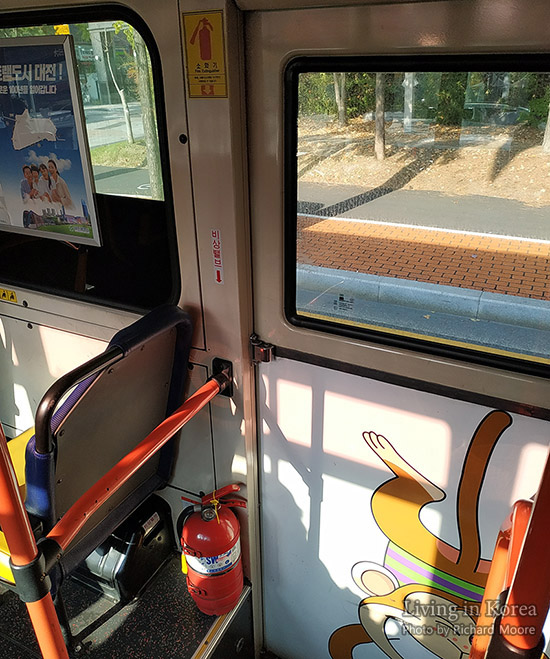
The location of fire extinguishers varies widely from bus to bus, even within the same line. It seems normal for there to be multiple extinguishers. In this instance, it is very easy to find as there is a yellow sticker and there is nothing obstructing our view of the extinguisher.
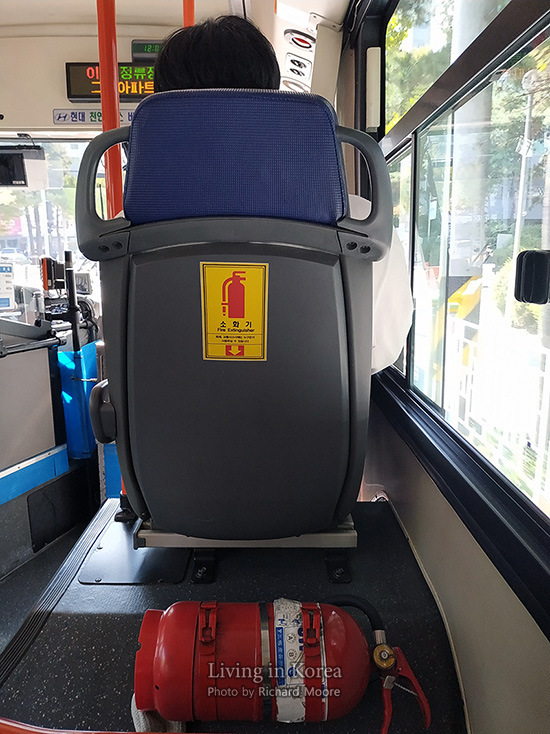
But not all extinguishers are so easy to find. Here is an instance of one placed under a bench seat just behind the exit doors. The sticker is much more difficult to spot, is located roughly at knee level, and we cannot see the extinguisher without getting on our hands and knees or blindly putting our hands under the seat.
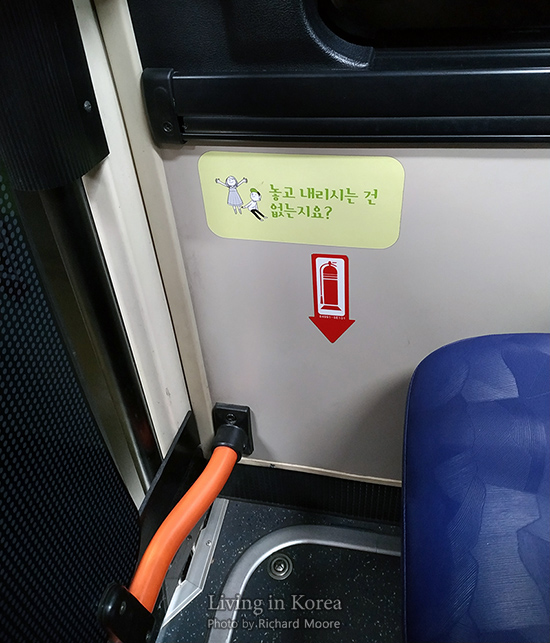
If there is an emergency and the driver does not open, or is unable to open the doors, you may need to open them manually; just like in a subway car. There are two kinds of valves to release the doors. Here is the first type and was spotted on a low floor bus. The location of the valve is above the door along with directions.
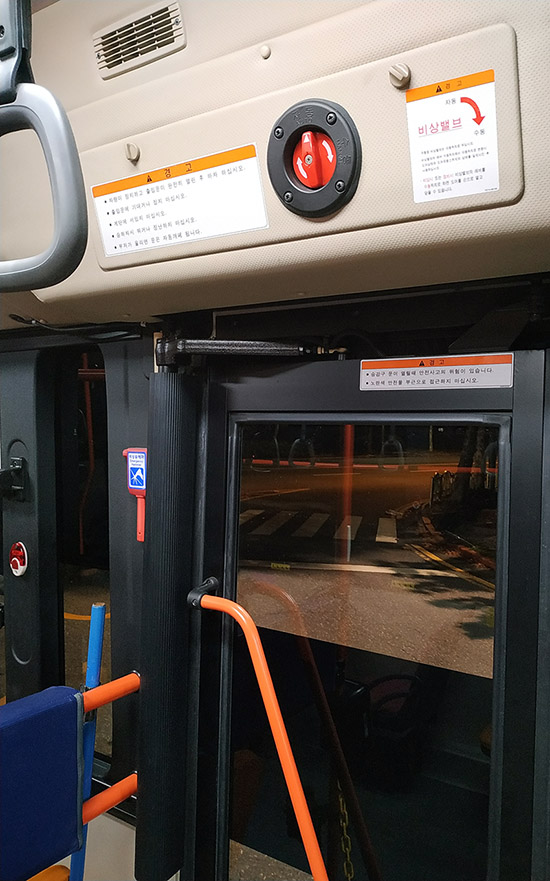
Here we can more easily see the value and the directions. They are easy to operate; turn it clockwise. If you want to see the image and words more clearly, click the picture to see a larger version of the image.
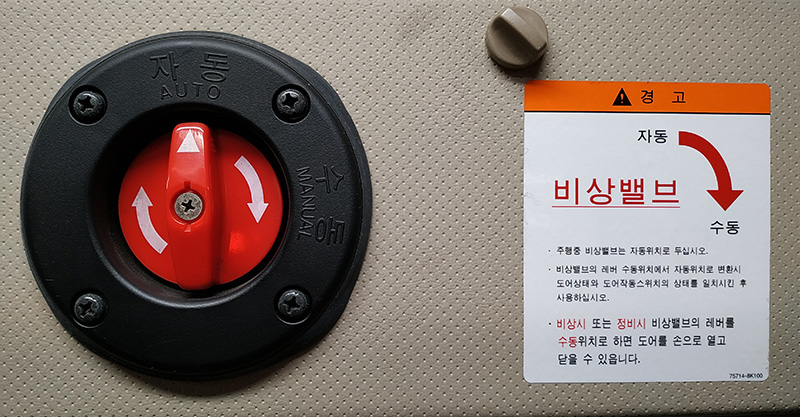
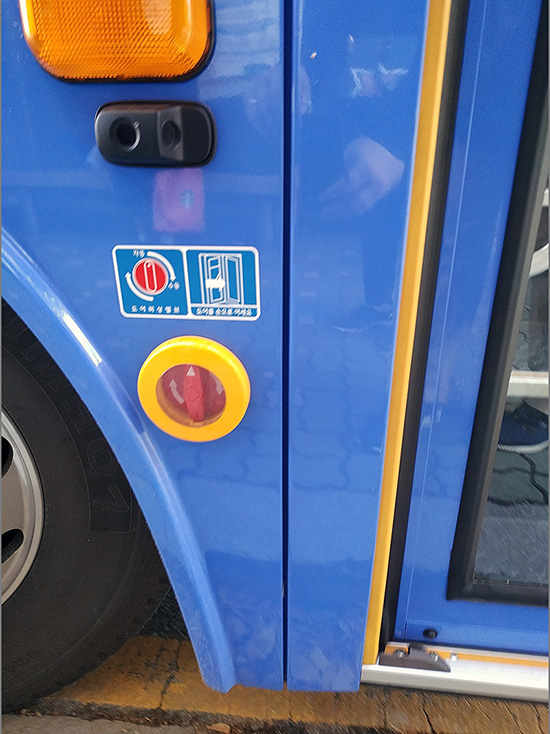
Here is another one of these valves but located on the outside of a bus by the front entrance.
The other type of valve was spotted on buses with stairs at the entrance and exit. There is a sticker to the left of the door which directs us toward a black box on the floor. We were unable to get clear pictures of the release valve at this time.
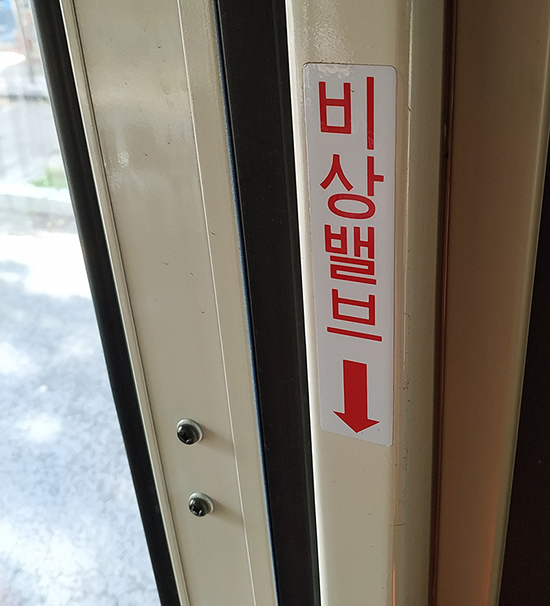
Here is a closer image of the same sticker, this time located just within the entrance.
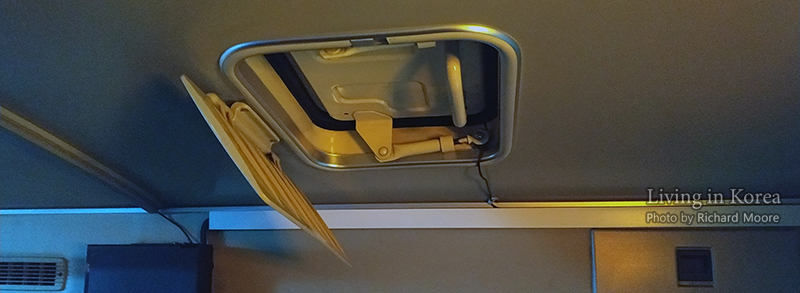
If you look around enough you might notice some kind of hatch in the ceiling near the exit of a bus. This isn’t standard so you’ll see this in some buses but not in others. Despite seeming to be the right size for people to fit through, this is not an emergency exit. This is a hatch that the driver can open to allow air flow, and only air flow to pass through it. As it has not been designed to be an emergency exit, it does not open enough for people to fit through it, even when fully opened.
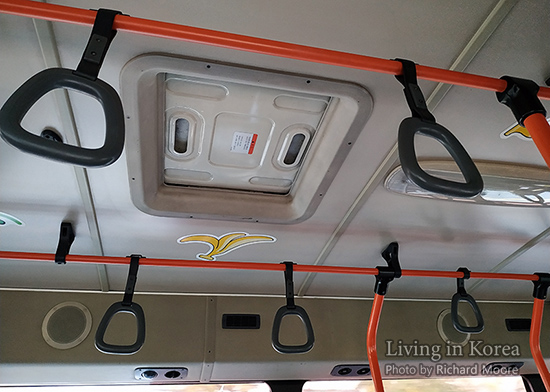
Here is another design and is located directly above the driver for their own personal air flow.
